
Troubleshooting guide | crawler excavator
Excavator Track Adjuster Grease Leak Troubleshooting Guide
If an excavator track becomes loose soon after grease is added, the track adjuster may be leaking, but the visible symptom does not identify the failed part by itself. Grease can escape at the fitting, relief valve, cylinder seal or another path, while packed material, a restricted idler or advanced chain wear can create a similar adjustment complaint. A safe diagnosis begins with cleaning, location evidence and model-specific measurements.
How an Excavator Track Adjuster Works
A typical steel-track excavator uses a grease-operated cylinder behind the front idler. Adding the specified grease extends the adjuster, moves the idler forward and reduces track slack. A relief or bleed valve allows controlled retraction during the correct service procedure. The recoil spring absorbs some shock when the idler encounters impact or packed material.
The assembly works with the idler guides, track frame, chain, rollers and sprocket. If the idler cannot slide freely, adding more grease may increase pressure without producing the expected movement. If the chain pitch is heavily worn, the adjuster may be close to the end of its useful stroke even when the cylinder itself is functional.
Designs vary by brand, model, serial range and undercarriage configuration. Some machines combine the idler and adjuster differently, use different valve locations or require a particular track position before measurement. Treat this article as an inspection framework, not a substitute for the operation and maintenance manual.
Track Adjuster Symptoms That Need Investigation
- the track returns loose shortly after grease is added;
- fresh grease appears around the fitting, valve, cylinder rod or track frame opening;
- the idler moves forward while greasing but retracts without an operating reason;
- grease can be pumped but the idler does not move;
- one adjuster requires much more grease than the other side;
- the track appears tight after working in mud but changes after cleaning;
- the adjuster is near the end of its visible travel;
- the track derails, snakes or contacts the frame abnormally.
Each item is an inspection signal. For example, a loose track can result from grease loss, but it can also reflect chain wear, an incorrect measuring condition or idler movement. A tight track can result from over-adjustment or material packed between sprocket, chain, rollers and frame.
Where Track-Adjuster Grease May Escape
Grease fitting or its seat
Fresh grease concentrated around the fitting can relate to a damaged fitting, loose installation, contaminated seat or incorrect connection. Clean and identify whether grease returns from the fitting itself or migrates from another point. Do not tighten blindly; thread and seat damage can worsen.
Relief valve or sealing surface
A relief valve must seal after adjustment. Dirt, damage, incorrect installation or a worn sealing surface can allow grease to escape. The valve may look wet because grease traveled from the fitting, so locate the first fresh point after cleaning.
Adjuster-cylinder seal
Grease emerging farther inside the track frame or around the moving portion of the cylinder may indicate a seal or cylinder-surface problem. Impact, corrosion, contamination or wear may contribute. Confirmation often requires component removal and controlled disassembly by a qualified workshop.
Cracked or damaged component
Impact or severe corrosion can damage the cylinder, port or surrounding structure. A crack is a stop-work condition. Do not weld, grind or heat a pressurized adjuster or recoil assembly.
Grease that is not from the adjuster
Excess grease from nearby service points or earlier maintenance may be spread by dirt and track movement. Confirm the source rather than assigning every greasy area to a failed adjuster seal.
Safe Visual Inspection Sequence
- Record the machine identity. Capture the brand, complete model and suffix, serial number or PIN and installed track configuration.
- Park correctly. Use stable level ground, lower the attachment and follow the shutdown and isolation procedure.
- Photograph before cleaning. Take an overall track image and close views of the fitting, valve, idler, cylinder area and grease trail.
- Remove external packing safely. Keep tools and hands out of pinch points. Do not disturb the valve during a visual check.
- Trace fresh grease. Clean only the external area allowed by the manual and identify the highest point where new grease returns.
- Compare both sides. Record idler position, visible adjuster travel, track appearance, guide contact and evidence of packing.
- Inspect the complete undercarriage. Check links, pins, bushings, shoes, rollers, idler flanges and sprocket teeth before blaming the cylinder.
- Measure by the manual. Use the exact machine preparation, travel direction, reference points and permitted range.
Do not perform an adjustment simply to make a photograph look equal. The correct track condition depends on design, temperature, ground material and measurement method.
Track Tension, Packing and Chain Wear
Caterpillar's current excavator maintenance guidance emphasizes correct tension and inspection of shoes, pins, chains, idlers, sprockets and fasteners. Too much or too little tension can accelerate wear. However, no single sag dimension applies to every excavator.
Mud, clay, stone or frozen debris can fill spaces around the chain and sprocket. As the material compacts, the effective track path becomes tighter. Adding or releasing grease before cleaning can create a false adjustment. Record the dirty condition, clean according to the manual and remeasure.
Internal pin-and-bushing wear increases chain pitch and overall track length. The adjuster compensates for a limited amount of change by moving the idler, but it cannot restore worn joint geometry. If the idler is far forward, measure chain pitch and the full undercarriage before replacing the adjuster.
A restricted idler guide can also resist movement. Look for scoring, impact, bent guards, rust and packing along the guide path. Do not force the idler with uncontrolled pressure.
Grease-Leak Symptom and Next-Check Table
| Observed symptom | Possible contributors | Next safe check |
|---|---|---|
| Grease appears at the fitting | Fitting, threads, connection or migrated grease | Clean externally and trace the first fresh return point |
| Grease appears at the relief valve | Contamination, valve seat, damage or migration | Preserve evidence and use the serial-specific valve procedure |
| Grease appears inside the track frame | Cylinder seal, surface damage, crack or another service point | Inspect from a safe position and request qualified removal if required |
| Track loosens again after adjustment | Active leak, chain wear, valve issue or wrong measuring condition | Recheck leak location, chain pitch and the manual-specific measurement |
| Grease enters but idler does not move | Packing, restricted guide, mechanical stop or internal fault | Stop pumping and inspect guide travel and undercarriage condition |
| Track becomes tight during operation | Material packing, heat or over-adjustment | Stop, clean safely and remeasure under the specified condition |
The table does not confirm a failed component. More than one condition can occur at the same time.
Common Troubleshooting Mistakes
- Adding grease repeatedly. This can hide the leak rate, overpressure a restricted system or waste grease without correcting chain wear.
- Using a universal sag value. Measurement points and acceptable values differ by machine and undercarriage design.
- Opening the relief valve casually. Pressurized grease and stored spring energy can cause serious injury.
- Replacing only the fitting. A wet fitting does not rule out valve, seal, cylinder, idler or chain problems.
- Ignoring packing. Adjusting a dirty track can leave it wrong after the material falls out.
- Ordering from photos alone. Similar-looking adjusters can differ in length, diameter, ports, mounting and serial application.
Repair or Replace the Track Adjuster?
A serviceable fitting or valve may be replaceable separately when the threads, seat and surrounding parts remain within specification. A seal repair may be appropriate when the cylinder surfaces, rod, barrel and recoil components pass inspection and the correct kit is available. A cracked, deeply scored, corroded or dimensionally damaged component may require assembly replacement.
The decision also depends on chain wear, idler condition, guide surfaces and planned machine use. Rebuilding an adjuster does not correct an elongated chain or worn sprocket. Conversely, replacing a complete assembly without proving the leak path may not solve a restricted guide or packing problem.
Excavator Track Adjuster Fitment Checklist
For a reliable replacement-parts review, provide:
- equipment brand, complete model and every suffix;
- serial number or PIN and a clear identification-plate photograph;
- part name, readable part number and required quantity;
- overall photographs of both track groups and the front idler position;
- close photographs showing the exact grease-leak origin after safe cleaning;
- requested cylinder, rod, port and mounting dimensions with measuring points marked;
- track-chain pitch, link count and shoe width when requested;
- destination country and typical soil, rock, packing and impact conditions.
Compatibility and availability must be confirmed before ordering. Do not assume adjusters are interchangeable between similar models, suffixes or production ranges.
Frequently Asked Questions
Why does my excavator track go loose after I add grease?
Possible reasons include leakage at the fitting, relief valve or cylinder seal, incorrect measurement, advanced chain wear or restricted idler movement. Trace and measure before replacing parts.
Can I keep pumping grease until the track stays tight?
No. Stop if the expected idler movement does not occur or grease escapes. Excess pressure around a restricted or damaged system is dangerous.
Is grease around the access cover proof of a bad cylinder seal?
No. Grease can migrate from the fitting, valve or previous service. Clean safely and identify the first fresh return point.
Can one track-tension value be used for every excavator?
No. Use the exact preparation, measuring points and acceptable range in the manual for the complete model and serial number.
Technical References
- Caterpillar: What to Know About Excavator Undercarriage Maintenance - current tension, component-inspection and application guidance.
- Caterpillar: How to Check Dozer Track Tension - general adjustment-valve, cleaning and manual-specific measurement principles.
- John Deere: 26G Compact Excavator Brochure - example of a grease-operated track-sag adjuster; not a universal procedure.
This independent educational guide is not affiliated with or endorsed by any machine manufacturer. Brand and model names belong to their respective owners. The accompanying image is an AI-generated illustration, not an inventory photograph. Always follow the operation, maintenance and service information for the exact machine.
Ask About Excavator Track Adjusters and Undercarriage Parts
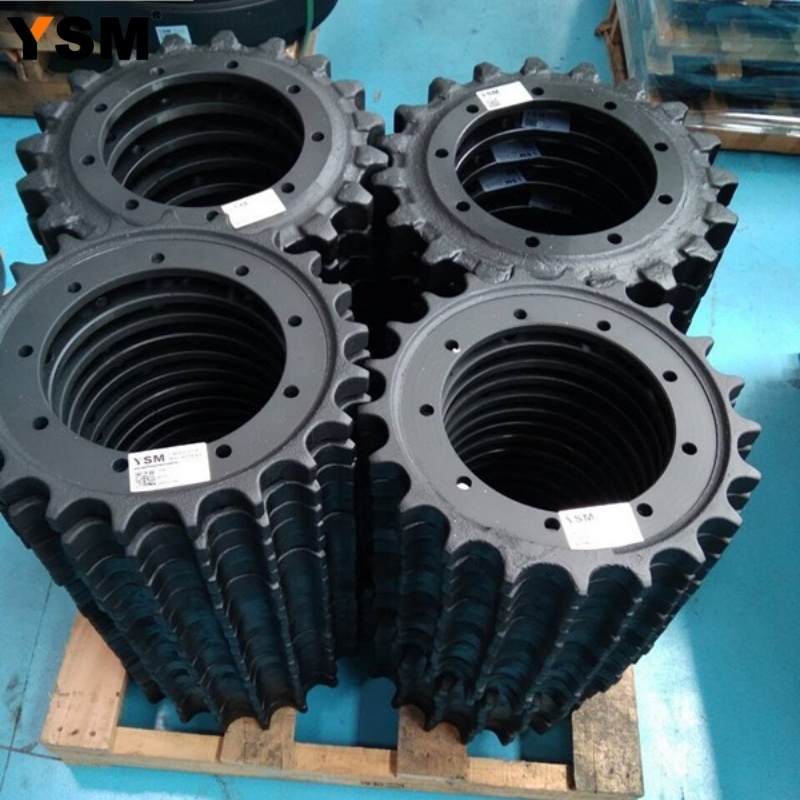
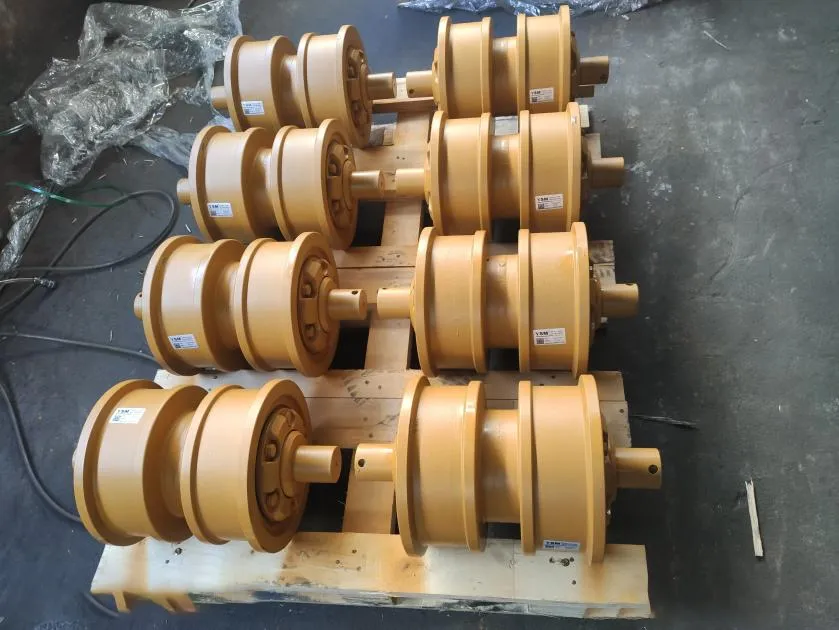
We can check suitable supply options for track adjusters, front idlers, track rollers, carrier rollers, sprockets, track chains, track shoes, track assemblies and related hardware after reviewing the exact machine and application.
Corporate Email: sales@china-ysm.com
WhatsApp: +86-18606961587
Send the equipment brand, complete model and suffix, serial number or PIN, part name, part number, clear photos, requested dimensions, quantity, destination country and working conditions. Compatibility and availability must be confirmed before ordering.