
Excavator Maintenance Guide
Excavator Daily Maintenance Checklist: 10 Systems to Inspect
A useful excavator daily maintenance checklist covers the entire machine—not only the engine or undercarriage. Before each shift, inspect for leaks and damage, confirm fluid and cooling conditions, check the hydraulic system, tracks, work equipment, cab controls and safety devices, and record anything unusual. The exact procedure and service limits must always come from the operation and maintenance manual for the specific machine.
Key Takeaways
- Use a consistent pre-start walk-around and record leaks, damage, loose hardware and warning indicators.
- Check fluids, cooling airflow, hydraulics, the undercarriage, work equipment, cab controls and safety devices as one connected system.
- Do not use universal track-sag dimensions, fluid levels or service intervals copied from another machine.
- Stop and escalate defects that may affect safe operation instead of treating the checklist as permission to keep working.
- When replacement parts are needed, confirm the complete model, serial number, part number, photos and dimensions.
Before Starting an Excavator Walk-Around Inspection
Park the excavator on firm, level ground where practical. Lower the bucket or attachment, place the controls in the safe position, shut down the machine and follow the manufacturer's isolation procedure. Allow hot or pressurized systems to cool before opening caps or approaching components that may release stored energy.
Begin the walk-around from the same point every day and move in the same direction. A repeatable route makes it easier to notice a new leak, missing fastener or changing wear pattern.
Excavator Daily Maintenance Checklist: 10 Systems
1. Ground condition, leaks and visible damage
Before starting the engine, look beneath and around the machine for fresh engine oil, coolant, fuel, hydraulic fluid or gear-oil traces. Inspect guards, access covers, handrails, steps, mirrors and cameras for damage. A stain shows where to investigate; it does not identify the failed component by itself.
2. Engine oil, fuel system and water separator
Check engine-oil level using the method specified by the manufacturer. Inspect the fuel system, filters, hoses and water separator for leakage, damage or an indicated need for service. Do not open a hot system or substitute a fluid specification based only on color or appearance.
3. Coolant, radiator and cooling airflow
Check the coolant level only at the approved point and condition. Inspect hoses, clamps and the area around the radiator, oil cooler and condenser. Remove loose dust and debris using the method allowed by the manual; excessive pressure or an incorrect cleaning direction can damage fins or push contamination deeper into the cooling pack.
4. Hydraulic tank, hoses, tubes and cylinders
Inspect the hydraulic-oil level, tank, pump area, valve lines, hoses, tubes, connectors and cylinders. Look for wet fittings, damaged hose covers, rubbing, loose clamps, dented tubes, rod damage or contamination around seals. A leak, slow movement or drifting cylinder can have several causes and should be diagnosed before parts are ordered.
5. Undercarriage, tracks and travel components
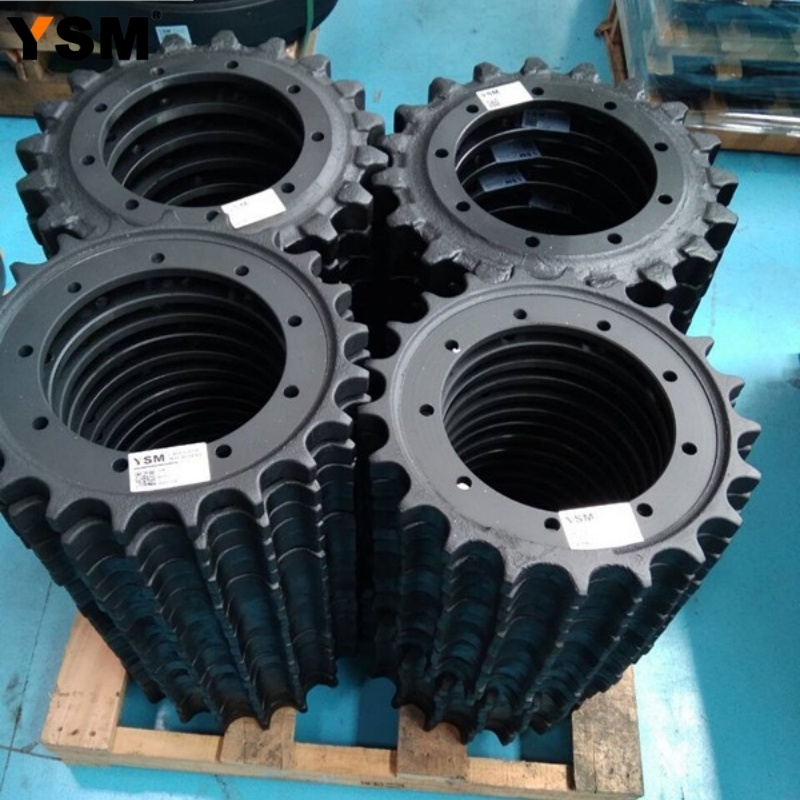
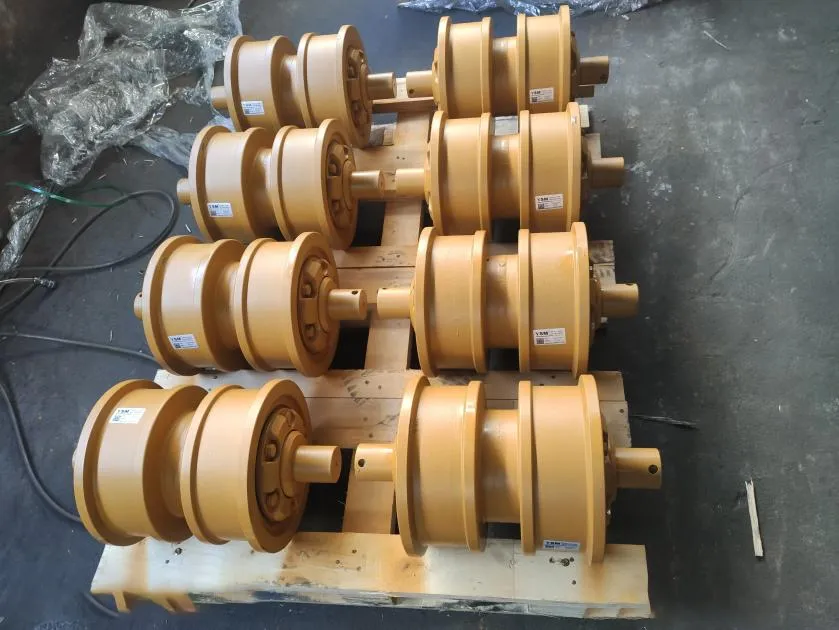
Remove accumulated mud, stones and debris. Inspect track shoes, bolts, links, pins and bushings, track rollers, carrier rollers, idlers, sprockets, guards and visible final-drive areas. Check track tension according to the exact model procedure and current ground conditions. Tracks that are too tight or too loose can affect more than one undercarriage component.
6. Boom, arm, bucket, coupler, pins and bushings
Check the boom and arm for cracks, deformation, damaged weld areas or loose hardware. Inspect pins, retainers and bushings for abnormal movement. Examine the bucket, teeth, adapters, cutting edges and side cutters for wear or missing parts. Confirm that the coupler and attachment locking system are secure using the manufacturer's verification procedure.
7. Swing system and upper structure
Inspect the visible swing bearing area, swing drive, center-joint area and upper-frame components for leakage, loose hardware, debris or abnormal clearance. During the operational check, listen for new knocking, grinding or irregular movement. Do not assume that every swing noise comes from the swing bearing.
8. Electrical system, battery and wiring
Look for loose or corroded battery connections, damaged cable insulation, unsecured wiring, failed work lights and dirty sensors or cameras. Battery inspection and cleaning must follow the machine's electrical and personal-protection requirements.
9. Cab, controls and safety devices
Check the seat belt, access steps, handrails, windows, mirrors, horn, travel alarm, lights, wipers, monitor and control lockout. After startup, observe warning lamps and gauges before moving the machine. A safety-device fault should be handled under the site procedure rather than postponed as a comfort issue.
10. Lubrication points, operating test and records
Service grease points only at the intervals, quantities and positions stated in the manual. After the pre-start inspection, perform the approved warm-up and low-speed function check in a clear area. Record meter hours, defects, fluid additions, adjustments and parts replaced so changing patterns can be reviewed later.
| System | Daily inspection focus | Possible warning signs | Related replacement categories |
|---|---|---|---|
| Engine and fuel | Oil level, filters, hoses, separator, visible leaks | Low level, contamination, leakage, warning indicator | Engine parts, filters, fuel-system components, hoses and seals |
| Cooling | Coolant, hoses, radiator and cooler airflow | Leakage, blocked fins, damaged hose, high-temperature warning | Radiators, oil coolers, hoses, clamps, water pumps and related seals |
| Hydraulics | Tank, pump area, valves, hoses, tubes and cylinders | Wet fitting, hose damage, rod damage, slow or irregular movement | Pumps, motors, valves, cylinders, seal kits, filters and hoses |
| Undercarriage | Tracks, rollers, idlers, sprockets, guards and debris | Uneven wear, loose hardware, leakage, restricted roller or track damage | Track rollers, carrier rollers, idlers, sprockets, chains, shoes and adjusters |
| Work equipment | Boom, arm, bucket, coupler, pins, bushings and wear parts | Crack, deformation, looseness, missing retainer or excessive play | Pins, bushings, seals, bucket teeth, adapters, cutting edges and structural parts |
| Electrical and cab | Battery, wiring, monitor, lights, alarms and controls | Corrosion, damaged cable, warning lamp, failed alarm or control fault | Sensors, switches, relays, wiring components, monitors and electrical parts |
Adjust the Checklist for the Operating Environment
Hot and dusty jobsites
Pay closer attention to cooling-pack airflow, air-cleaner indicators, hose condition and dust accumulation. Do not remove or clean filter elements using a method that conflicts with the manufacturer instructions.
Mud, clay and freezing conditions
Clean material from the undercarriage before it hardens or freezes. Packed material can restrict roller movement and change effective track tension. Also inspect steps, access areas and attachment joints for slippery or frozen buildup.
Rocky or high-impact work
Increase attention to track shoes, guards, bucket wear parts, hoses, cylinder rods and structural areas exposed to impact. A new mark is not necessarily a crack, but it should be cleaned and assessed correctly.
Wet or corrosive environments
Inspect electrical connections, exposed metal, pins, fasteners and seals for contamination or corrosion. Follow the approved cleaning and protection procedure rather than applying unverified chemicals.
Warning Signs That Require Further Action
Stop, isolate or escalate the machine according to the manual and site rules when you find conditions such as:
- a significant fuel, coolant, engine-oil, hydraulic or gear-oil leak;
- a damaged coupler, attachment lock, pin retainer or load-bearing structure;
- a broken track component, loose track hardware or a condition that may lead to derailment;
- an overheating, low-pressure or other critical warning;
- loss of predictable boom, arm, bucket, swing or travel control;
- abnormal smoke, severe vibration, grinding, knocking or sudden power loss;
- a failed seat belt, alarm, control lockout or other required safety device.
The correct response depends on the defect and machine. A daily checklist is a detection tool, not a substitute for diagnosis or repair authorization.
Daily Inspection Is Not the Same as Scheduled Maintenance
A daily inspection identifies visible conditions before and during operation. Scheduled preventive maintenance may include oil and filter changes, fluid sampling, torque checks, measured undercarriage wear, valve or belt inspection, software checks and other procedures at model-specific intervals.
Do not copy a service-hour schedule from a different brand, model or generation. Use the exact machine's operation and maintenance manual, service records, meter hours and actual operating environment.
Information to Collect Before Ordering Excavator Parts
A maintenance inspection often reveals a part that needs closer evaluation. Before requesting a quotation, collect:
- machine brand, complete model and serial or product identification number;
- the existing part number and any readable casting or label information;
- clear overall and close-up photos, including mounting points and connectors;
- requested dimensions when the supplier asks for them;
- installation position, left/right orientation or flange arrangement where relevant;
- operating conditions and a concise description of the observed symptom.
Machines with similar model names may use different components across serial-number ranges, regions and production generations. Visual similarity alone is not enough to confirm fit.
Frequently Asked Questions
Should an excavator be inspected every day?
A pre-start inspection should follow the machine manual and site procedure. Additional checks may be needed during and after the shift when operating conditions change or a warning sign appears.
Can the same daily checklist be used for every excavator?
A general checklist can provide a framework, but access points, safety devices, fluid checks, track procedures and service requirements vary. Adapt it to the exact machine manual and attachments.
How should excavator track tension be checked?
Use the method, ground condition and measurement value specified for the exact model. There is no universal track-sag dimension for all crawler excavators.
Does a hydraulic leak always mean the hose has failed?
No. Fluid may travel from a fitting, tube, seal, valve, cylinder or another point. Clean and inspect the area safely, then identify the source before selecting a replacement part.
What information helps confirm the correct replacement part?
The complete model, serial number, existing part number, clear photos, mounting details and requested dimensions provide a safer basis for confirmation than the machine name alone.
Summary
A reliable excavator daily maintenance checklist follows a repeatable route across the whole machine. Check for leaks and damage, inspect fluids and cooling, review hydraulic and undercarriage conditions, examine work equipment and verify cab and safety functions. Record defects, use the model-specific manual and obtain qualified inspection when a condition cannot be confirmed safely.
Technical References
Need Replacement Parts for Your Excavator?
We can help check parts for many mainstream excavator models based on the machine and component information you provide.
Relevant product categories: engine parts, hydraulic parts, undercarriage parts, electrical parts, filters, seals, pins and bushings, structural parts and wear parts.
Corporate Email: sales@china-ysm.com
WhatsApp: +86-18606961587
To confirm compatibility and availability, please send the complete model, serial number, existing part number, clear photos and requested dimensions before ordering.